IntelliJ IDEA에서 Spring Boot Devtools 사용하는 법
React라던가 node(nodemon), flask, 등의 프레임워크나 라이브러리 등을 사용하여 웹 개발을 하면 코드가 수정됨에 따라 즉시 반영이 되어 결과를 확인할 수가 있다.
스프링 부트를 공부하면서 소스를 수정할 때마다 매번 서버를 재시작 하는 과정이 매우 귀찮았기에 스프링에도 이와 같은 기능이 있는지 찾아보던 중 Spring Boot Devtools 가 있는 것을 알게 되었다.
오늘 포스트는 IntelliJ IDEA 에서 Spring Boot Devtools 를 세팅하는 방법을 정리해보았다.
1. Dependency에 devtools 추가하기
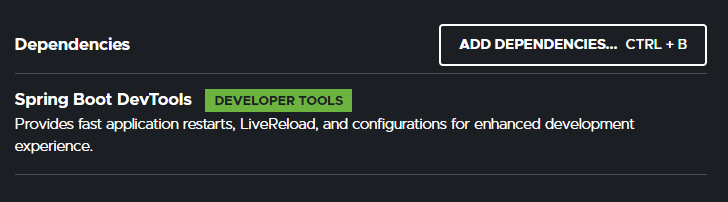
프로젝트를 생성하기 전이라면 start.spring.io 에서 Dependency를 추가하는 과정에서 다음과 같이 DevTools 를 추가하면 된다.
dependencies {
    implementation 'org.springframework.boot:spring-boot-starter-thymeleaf'
    implementation 'org.springframework.boot:spring-boot-starter-web'
    developmentOnly 'org.springframework.boot:spring-boot-devtools' // 요걸 추가하면 된다 !!
    testImplementation 'org.springframework.boot:spring-boot-starter-test'
}
만약 이미 프로젝트를 생성한 이후라면 build.gradle 에 위와같이 Dependency를 추가한 후 load gradle changes를 하여 반영하면 기본적인 준비가 끝난다.
(maven에서도 역시 dependencies에 위와 같은 의존성을 설정해주면 된다)
2. IntelliJ IDEA 프로퍼티 변경
우선 IntelliJ 2021 을 기준으로 두 가지 설정을 체크하면 된다.

첫번째로 Advanced Settings 에서 빨간 박스안에 있는 Allow auto-make to start even… 를 체크해주면 된다. 2021 이전의 IDEA일 경우 별도의 이슈가 있을 수 있다.
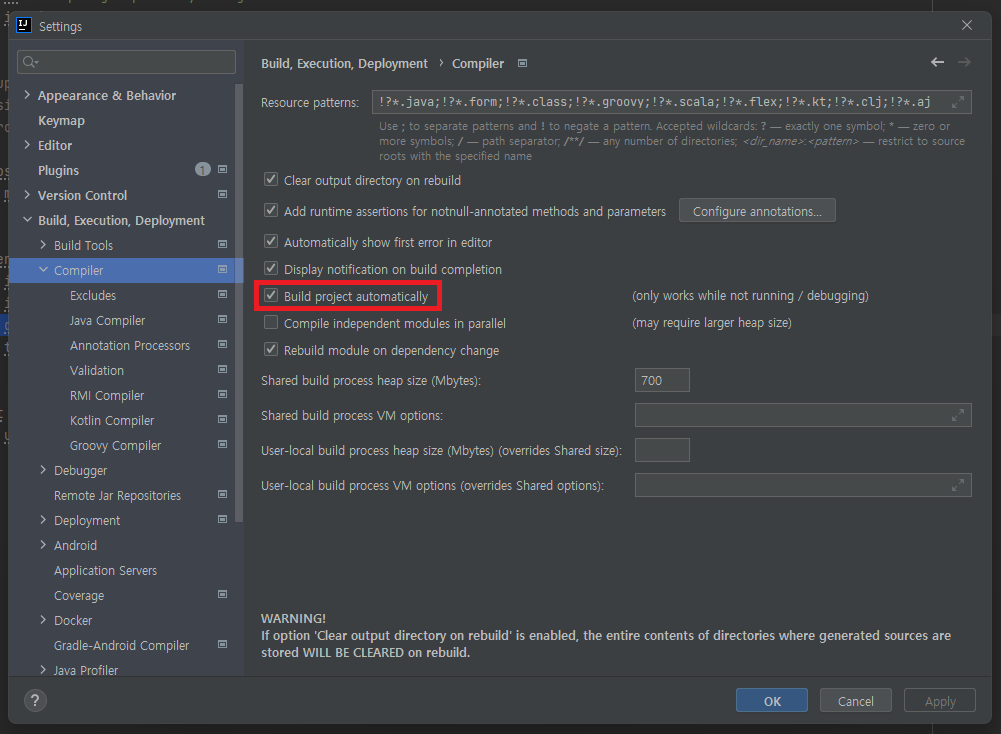
두번째로 Build, Execution, Deployment -> Compiler -> Build project automatically 를 체크하면 Devtools를 사용하기 위한 모든 설정이 끝이난다.

댓글남기기